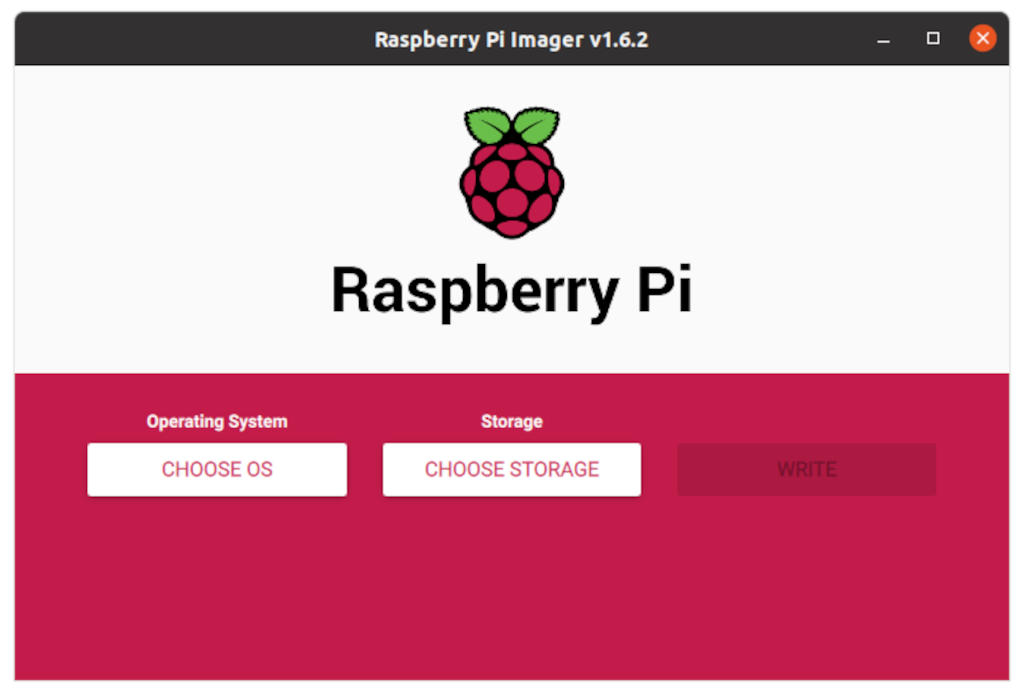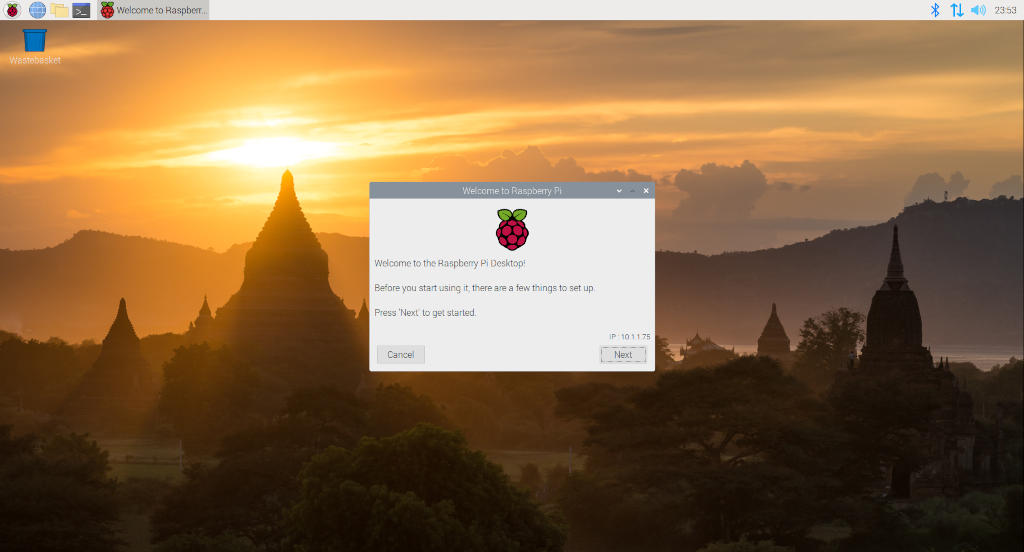
宅内用に独自のドメインを立てるためDNSサーバを構築します。DNSサーバは、常時起動が望ましいため、省電力のRasberry Piを活用します。
動作環境を確認する!
使用するRaspberry Piの動作環境を確認します。
# hostnamectl
 Static hostname: ras001p1.loc.lab4ict.com
       Icon name: computer
      Machine ID: 5c3f29728bd44816ac74f26235cd8c78
         Boot ID: 38557ced093b4550b1a258d6c7c4a5cb
Operating System: Raspbian GNU/Linux 12 (bookworm)
          Kernel: Linux 6.6.20+rpt-rpi-v6
    Architecture: arm
minicomをインストールする!
minicomをインストールします。
# sudo apt install minicom -y
sudo: unable to resolve host ras001p1.loc.lab4ict.com: Name or service not known
Reading package lists... Done
Building dependency tree... Done
Reading state information... Done
The following additional packages will be installed:
  lrzsz
The following NEW packages will be installed:
  lrzsz minicom
0 upgraded, 2 newly installed, 0 to remove and 0 not upgraded.
Need to get 348 kB of archives.
After this operation, 1,453 kB of additional disk space will be used.
...
インストールが完了すると、Dnsmasqは起動済みの状態になっています。自動起動も設定済みです。
minicomでシリアルポートにアクセスする!
minicomでUSBのシリアルポートにアクセスする例です。
 minicom -b 115200 -o -D /dev/ttyUSB0


Welcome to minicom 2.8

OPTIONS: I18n
Port /dev/ttyUSB0

Press CTRL-A Z for help on special keys

...
おわりに
Raspberry Piでコマンドラインでシリアルポートにアクセする場合に、minicomをインストールして使用することができます。


